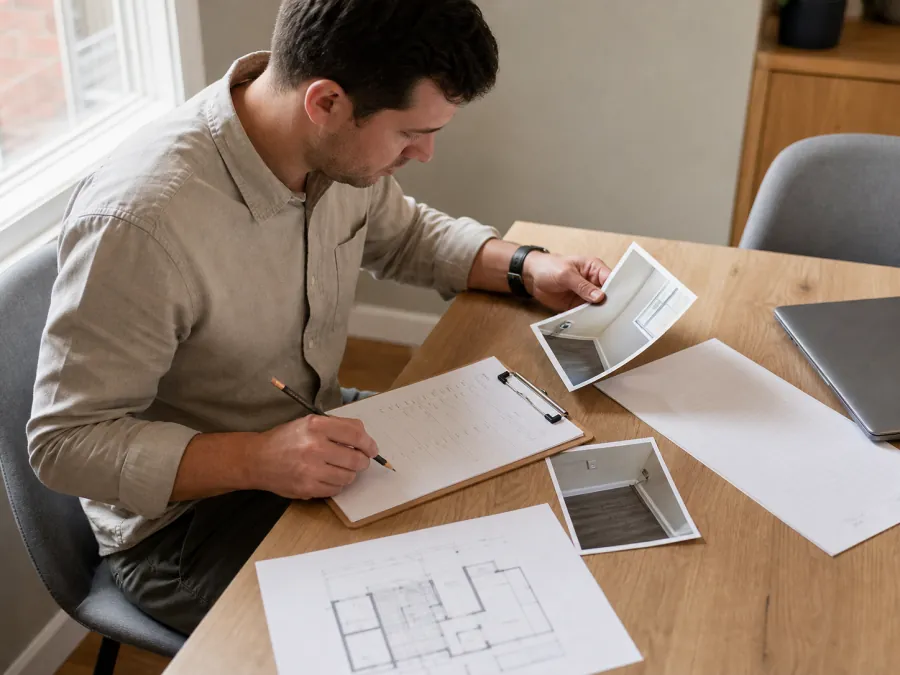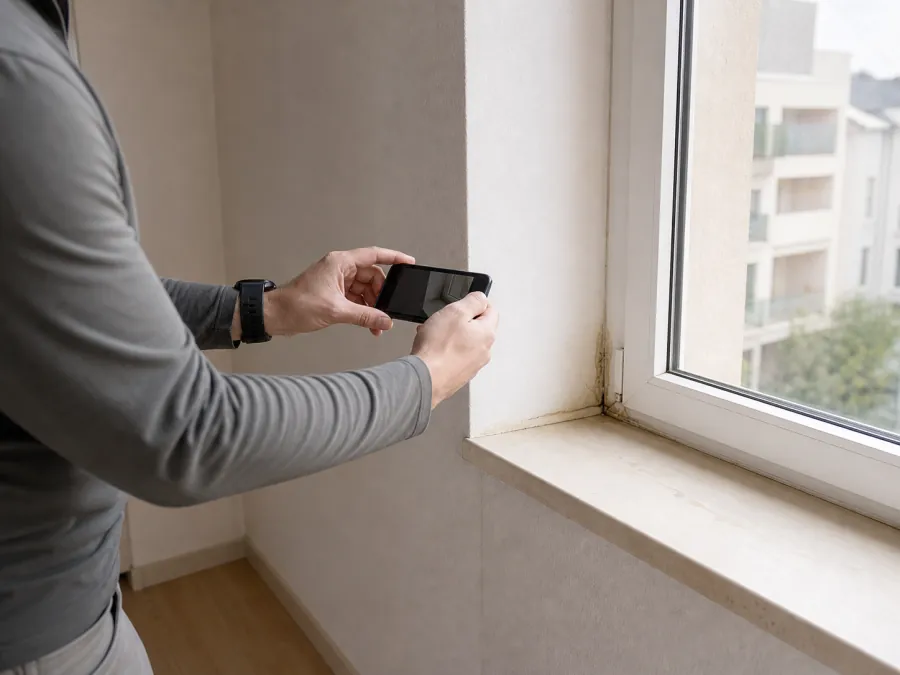
More photos do not automatically create a better inspection record. Evidence becomes useful when the image is clear, attached to the right item and supported by enough context to understand what happened.
01
Ask for photos at the point of observation
The capture request should appear inside the relevant room or question. This preserves context and prevents the reviewer from sorting images after the visit.
02
Make evidence requirements specific
Replace broad instructions such as ‘take photos’ with a small number of deliberate views: overview, detail and identifying context where required.
- Show the whole area first
- Capture the detail at useful scale
- Annotate when the issue is not obvious
03
Review quality before leaving
Required evidence and a simple completion review help inspectors catch missing or unclear images while they can still correct them.
04
Wide, then close
A close photograph proves a defect exists. It rarely proves where. Pairing a wider frame that establishes the room and the wall with a close frame that establishes the condition removes the ambiguity that makes evidence arguable months later.
This costs seconds during the visit and saves the reconstruction work that otherwise falls to whoever reads the record without having been there.
- Establish location before condition
- Include a reference object where scale matters
- Avoid annotation unless the mark aids understanding
- Capture in the sequence the template defines
05
Photographs are not a substitute for answers
A structured answer can be sorted, counted and compared across a portfolio. A photograph cannot. Teams that lean on images in place of recorded answers produce inspections that read well individually and aggregate into nothing.
The productive division is that the answer records the fact and the photograph supports it. Removing either weakens the record in a different way.